Free Scrapbook Pages
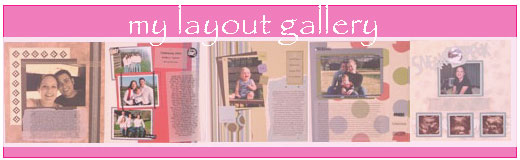
use folders and DVDs to create amazing layouts
I love the way these free scrapbook pages use folders and DVDs to hold so many memories on one layout! Find out how to use these simple techniques to archive so much more than photos.
More Layouts 1 2 3 4 5 6 7 8 9 10 11 12 13 14 15 16 17 18 19 20 21 22 23 24 25 26 27 28 29 30 31 32 33
Free Scrapbook Pages 1
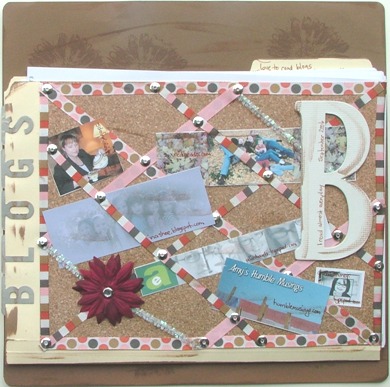
This layout is all about the blogs that I loved reading in September 2006 and it actually archives some of them. I started with a 12 x 12 brown piece of cardstock and rounded the corners with my corner rounder. Next, I used a watermark ink pad and a flower stamp to create the three flowers right above the file folder and a little below. I also smeared the edge of the same stamp pad along here and there for interest. Then, I attached a regular file folder to the page. I then decorated the fild folder. The word BLOGS around the left side is done with metal letters that act like paper clips (not sure exactly what they are called). Then I used a piece of paper that looks like corkboard to create the effect of one. I used ribbon to create the diagonal lines and added metal sticker to the intersections. I then printed out the header graphics from the blogs that I wanted to include and placed them on the “corkboard.” You'll also see the chipboard B and the flower as embellishments. Finally, I place print outs of some of my favorite posts from these blogs inside the folder. I love free scrapbook pages like this!

Free Scrapbook Pages 2
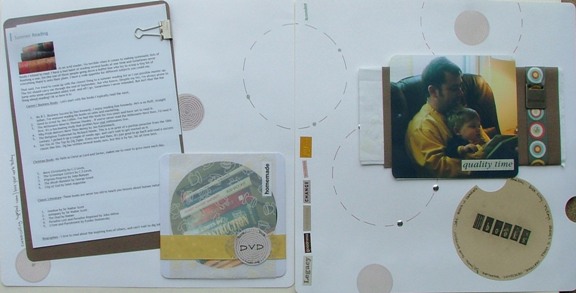
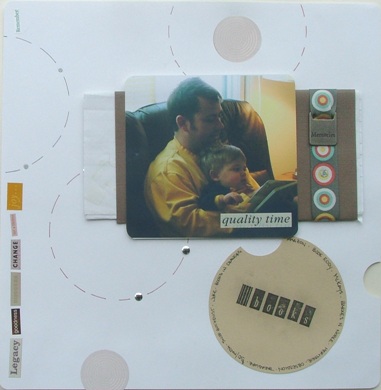
Another one of my favorite layouts! My
husband loves books and he has TONS of them. I wanted to do a layout and
I didn't know how to show all of them so I decided to get out my video
camera and do a walking tour of our house/bookshelves and show all the
titles. I then created a envelope to put it in for my layouts.
Apparently, I also included a book list (my husband and I had a contest
one year) in a pocket on this layout. I had forgotten about it until
now. That's one of the cool things about scrapbooking. Let's start at
the beginning.
I started with 2 white 12 x 12 sheets of card
stock and rounded the corners. I then used a bowl from my kitchen to
trace around to make the dashed line circles. I used glitter glue for
some of the dots and metal stickers for some of them (the ones in
between the dashes). I punched out the smaller circles out of a circle
patterned paper and then created the title circle with my Fiskars circle
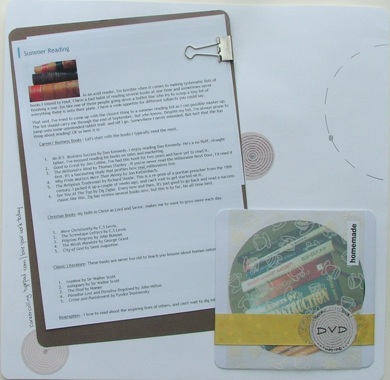
cutter. The title was created with stamps. The large rectangle is a
piece of card stock holding an old blog entry of my husband's with his
Summer Reading List. The square on the left layout in the bottom right
corner is the holder/envelope for my DVD book tour. The photo on the
right has piece of card stock under it that folded sheets of 8 ½ x 11
paper slides into. That holds my journaling. That is the second of my
free scrapbook pages. Enjoy and go create!


New! Comments
Have your say about what you just read! Leave me a comment in the box below.