Paper Bag Scrapbook Album
real-life photos and easy instructions for incredible fold-out paper sack scrapbooks
Go grab some of your favorite photos, get out your scrapping stuff, and create your own paper bag scrapbook album in just a few hours. It has been a couple of months since I completed my first 2 paper bag scrapbooks and every time I open them, I am so glad I came across The Paper Bag Book while I was shopping online! So…I’ve put together some easy instructions for you and some photos from my 2nd project – the fold-out bag book.
See another paper sack scrapbook
Fold-Out Paper Bag Scrapbook Album - Easy instructions
Take a trip down memory lane and choose a group of photos that inspire
you. Maybe they’ll be from a favorite trip or a memorable event. Or
maybe they’ll just be about your everyday real life. Quite often, those
everyday, real-life photos are really my favorite after all, even though
they show the messy table in the background or the dishes that need to
be washed or the grass that needs to be mowed.
Then…gather your supplies. You’ll need your photos, paper and
embellishments to coordinate, and your normal scrapbooking supplies
(scissors, adhesive, paper trimmer, etc)
Next, you need paper bags. There are two things to consider when
choosing your bags: color and size. Color - usually white or brown bags
will work with any project. As you make more and more paper sack
scrapbooks, you’ll probably want to work with some other colors, but for
this project, I’d stick with white or brown. I happened to use brown
because it worked well with the autumn color scheme I chose. Size – you
just need to make sure that your photos will fit on whatever size bag
you choose.
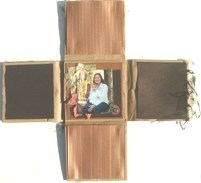
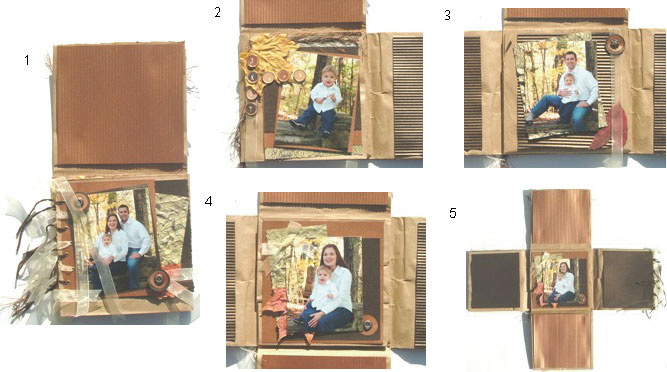
The Main Thing – Putting Your Bag Book Together
Get 4 bags and arrange them according to the diagram below. You can sew
them together or simply use adhesive. The book recommended sewing, but I
just used some double-sided tape and it worked great!
You’ll want to make sure that the middle section is the same size as
each flap so that the paper sack scrapbook closes properly.
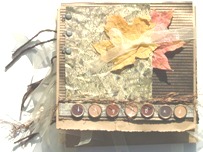
After the bag is put together the fun begins! Think about the placement
of your photos in relation to what order the flaps will open. If you
have too many photos for the pages or want to hide your journaling,
consider using pull-outs or secret pockets. I didn’t use any of the
secret pocket techniques so I can’t give you any first hand experience,
but the book has some great ideas.
Once you have thought through your project, grab your favorite drink,
turn on some inspiring music and create each page using your normal
layout method. You’ll love capturing your memories in beautiful paper
sack scrapbooks. They look great in a basket on your coffee table. : )
You can look at mine below.
Fold-Out Paper Bag Scrapbook Album - Photos
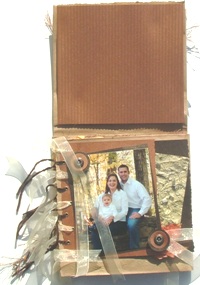
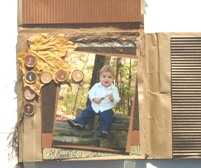
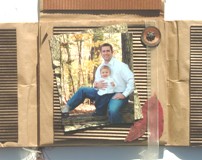
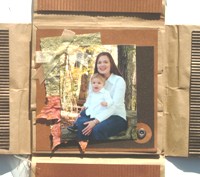
As with my basic bag book project, I used some formal portraits that
seemed to deserve more than a 2-page layout somewhere in one of my main
albums. When you create this project, there end up being 8 pages that
you could put photos on. I only used 4 of them and I covered the other 4
with coordinating paper so that the focus is on the main pages. I
wanted it to look elegant but simple and for the photos to take center
stage. The Paper Bag Book shows this same project with multiple photos
for a completely different look and feel. There are just so many
options! : ) You’ll also notice that I took the photos above in the
order that my book opens up.
So…have fun putting your paper bag scrapbook album together and let me know how it turns out! : )
See Another Paper Bag Scrapbook Album


New! Comments
Have your say about what you just read! Leave me a comment in the box below.