|
If your email reader translated this issue into text (you can't see photos)
click here
and read back issue March 2011 to see the full version.
Hey, Ya'll, Spring is springing here and I'm looking forward to gardening but I'm hoping I don't get behind on the scrapbooking. Last year, when Spring rolled around, it took most of my spare time...hope that doesn't happen again, though, I do love working in the yard. : ) Gluten-free-world is also going well. I've been slowly working on some recipes. So far, I have a good bread recipe, pancake and waffle recipe, a couple of dessert recipes and tonight we fried some onion rings with a gluten free breading mix. If you follow my Youtube Channel, you know I've been working on an engagement scrapbook mini paper bag album. It has been fun and something I've had in a drawer-to-finish for years. You can see the videos on Youtube or read along and see the photos below. What's New? I've added a new header! Yeah! I've been wanting to do this for a long time but I finally was able to find time and energy. Thanks to ObsidianDawn.com for allowing me to use their brushes! I also have a SEARCH BOX now on my site - another thing I've been wanting to do for a long time. So, if you need to find something...it'll be much easier now. Head on over and check it out. See the new header and SEARCH BOX!
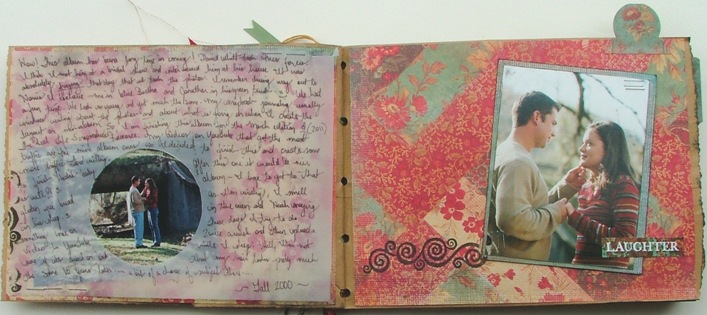
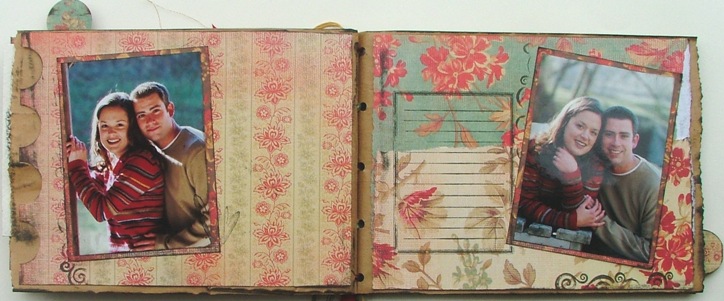
Page 1 On the left side of the spread I used one of the patterned papers from the pack for the bottom layer. Then I placed the photo at a bit of an angle. Next, I cut out a circle from a piece of vellum to highlight the photo. Then I attached the vellum with staples and finally inked along the left edge with part of the swirly stamp. Then I did the hand journaling. : ) On the right side I used one of the patterned papers from the pack and then matted the photo and placed it at an angle as well. I attached the photo to the mat with staples and then attached the mat with tape. I also inked around the edges before I placed it. Finally, I added the tab to the upper right corner of the page and the "laughter" sticker and the swirly stamp. The sticker and tab came with the paper pack. I also used the decal edge scissors for the right edge of this page.
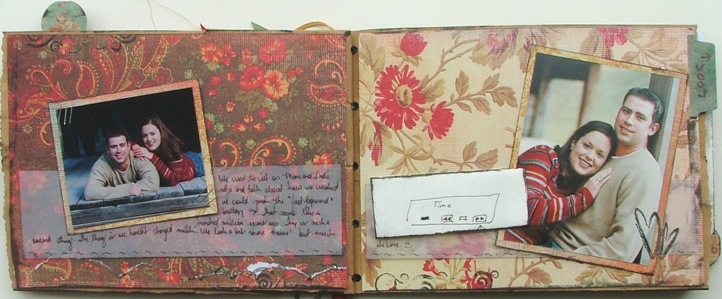
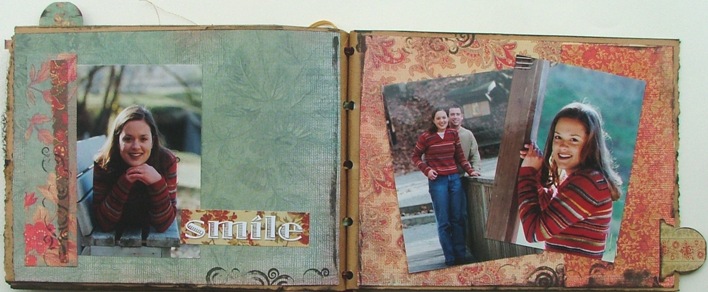
Page 2 I used very similar techniques from the last pages. The fun thing about this one was the little drawing from our courting days that I added to the right page. The other different thing is on the left page. I used 2 layers of paper for the bottom layer. I tore the bottom edge of the top one and then laid it on top just to give some interest.
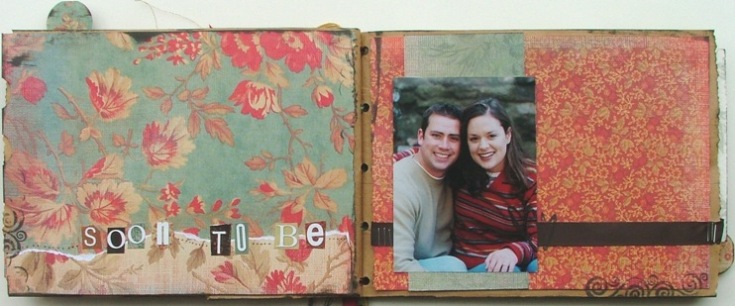
Page 3 I also used 2 layers for the bottom layer on the left page but this time I used 2 different patterned papers. I used letter stickers from the paper pack and then "connected" them with little dots. On the right, I stapled the brown satin ribbon.
Page 4 These pages are very similar as well. On the left, I created the left edge with my circle punch. Then on the right is where I used the journaling block stamp. I obviously haven't journaled in it yet. I'm not sure when I'll get to that?
Page 5 Here you'll see similar techniques as well...so I won't bore you with more words. : )
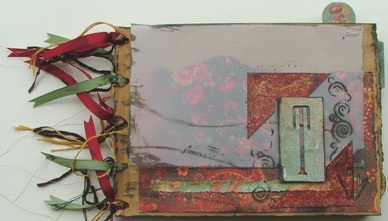
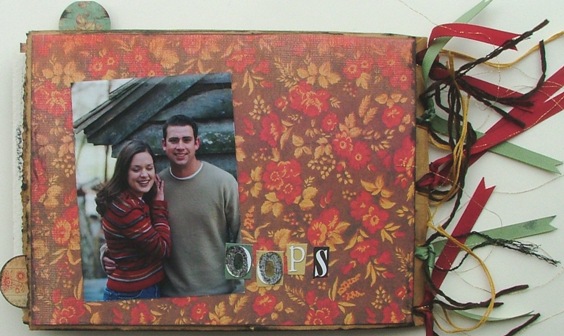
Page 6 Ahhh...the fun back cover. I reserved that for a blooper photo and labeled it "oops"
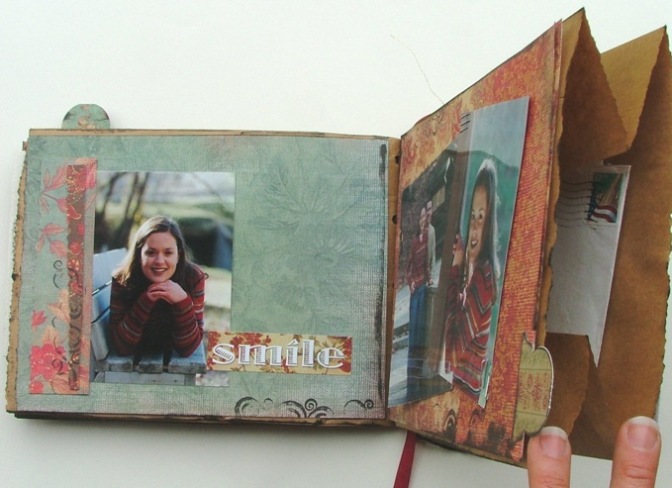
Here I just wanted to show you the fun pockets that the paper bag albums make. I used the pockets in this album for letters and such from our courting days. : )
New Scrapbook Card Designs I made some cards this month!!! Yeah! I used my "making cards in series" strategy. What in the world does that mean? Well, it means that when I already have the creative juices flowing from a project, I try to go ahead and make some cards so I'll have them ready when I need them. Works for me! Thanks! I used one of the patterned paper from the Daisy D's Attic Heirlooms paper pack...the same one I used for the paper bag album. I stamped it with the journaling block stamp and the used letter stickers that came with the paper pack to spell out the word "Thanks!" For the bottom of the exclamation point, I used a heart shaped brad. For the finishing touch, I inked around the edges.
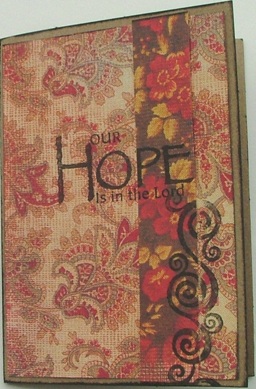
Our Hope is in the Lord This was super simple...just a background paper and then a coordinating vertical paper strip, the stamped greeting and the vertical stamped swirl. Finally, I inked around the edges. The greeting stamp is Stampabilities HOPE ER1027.
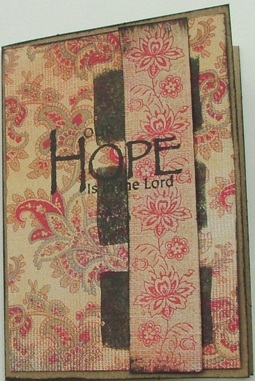
Our Hope is in the Lord Another easy design! I used a pattern paper for the background and then used a stamp to created the 3 black rectangles. Then I inked around the edges of the vertical paper strip and placed it on top of the rectangles. Finally, I stamped the greeting and inked around the edges. The rectangle stamp is "diffusion" hamptonart.com DF2102 Collage Rectangle.
What about next month? I'm not sure yet...I'll probably continue working on the digital scrapbook class over at TwoPeas. Then I also plan to work on my baby mini album. I might add some to my rolodex album? We'll see...stay tuned to Youtube to find out. Until sometime around the middle of April… Send Me Your Layouts... I’d love to see what you’ve been up to. I’ll pick 2 or 3 for each issue and publish them along with your photo (if you want) and a bio about your real life scrapbooking adventures. So, send them to Rachel@free-scrapbooking-ideas-and-videos.com with “e-zine layout submission” in the subject line. New! CommentsHave your say about what you just read! Leave me a comment in the box below. |